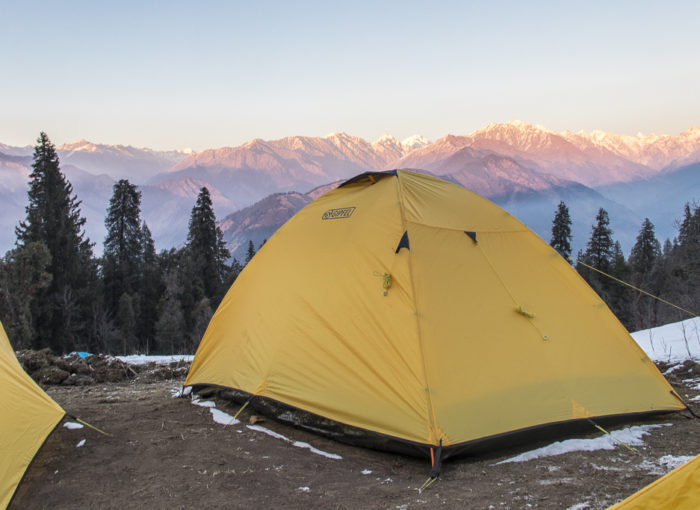
How often do you come across people that say I have got about 500/1000 photographs from the trip’ or any such crazy numbers? Once? Twice? Frequently?
Well, those numbers could sound exciting or in some, extremely rare, cases may be the actual requirement. However, if you are serious about photography then those numbers are just not right.
Are you curious about the reasons behind this? Do you want to know how do I go about capturing photographs with my adventures? It’s never easy capturing shots while on a terrain that experiences challenging weather conditions. Read on to know more!
LET’S UNDERSTAND THE BASICS:
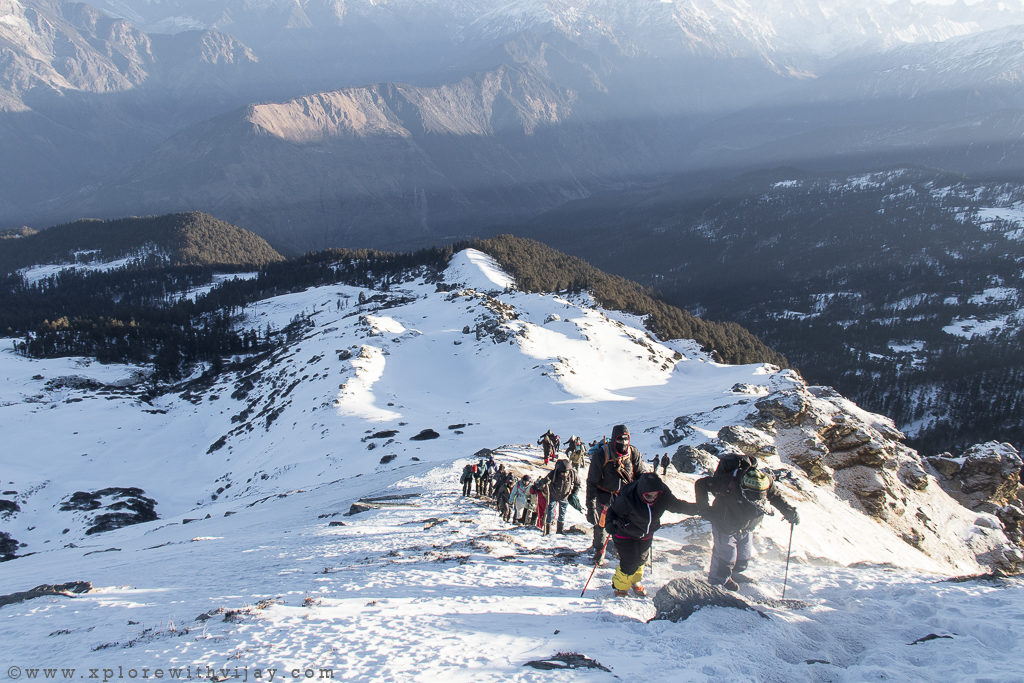
Climbing up a rugged inclined off-trail is an extremely strenuous activity. When you are traversing across the majestic Himalayan terrains, the spiraling increase in altitude drops the air pressure. As you keep gaining altitude, the air pressure plummets. What this means is that you get lesser intake of oxygen with each breath. With such low air pressure, a human body’s ability to supply oxygen to keep the various organs functioning to its fullest declines. The body, does, send out signals in the form of certain symptoms. And, it is of paramount importance to remediate these symptoms at the earliest. Failure to do so will have adverse impacts to health and can, even, lead to death. An in-depth narration on the various symptoms and ways to implement corrective measures will be outlined in a soon-to-be-released blog. For a brief overview about the major symptoms, do visit my older blog. Here’s the link to it. Make sure you subscribe to my blogs, so you never miss out on my upcoming fascinating travel blogs and tips.
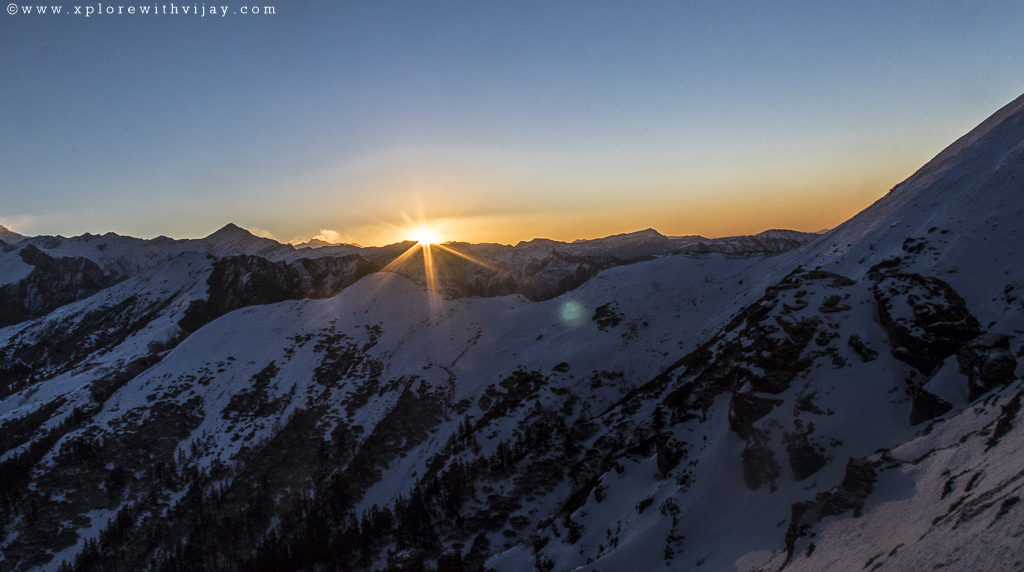
WHEN YOU HAVE PASSION FOR ADVENTURE & PHOTOGRAPHY!
At most times, during any multi day Himalayan trek, one has to carry a backpack weighing about 7 – 8 kg. Though, it may sound easy-peasy, however, it is an arduous task. There are people that offload their backpacks and stroll all along the trek path. Did you notice that in my previous sentence, I have used the term people. That’s right. A trekker will never choose to do it without backpack. Where’s the fun in it? At least, it doesn’t satisfy me as a having done a trek. For me, it is this backpack plus the camera and accessories. The aggregate weight of a typical crop sensor Digital SLR along with lens, tripod, and moisture protection accessories take it up to 2.5 to 3 kg.
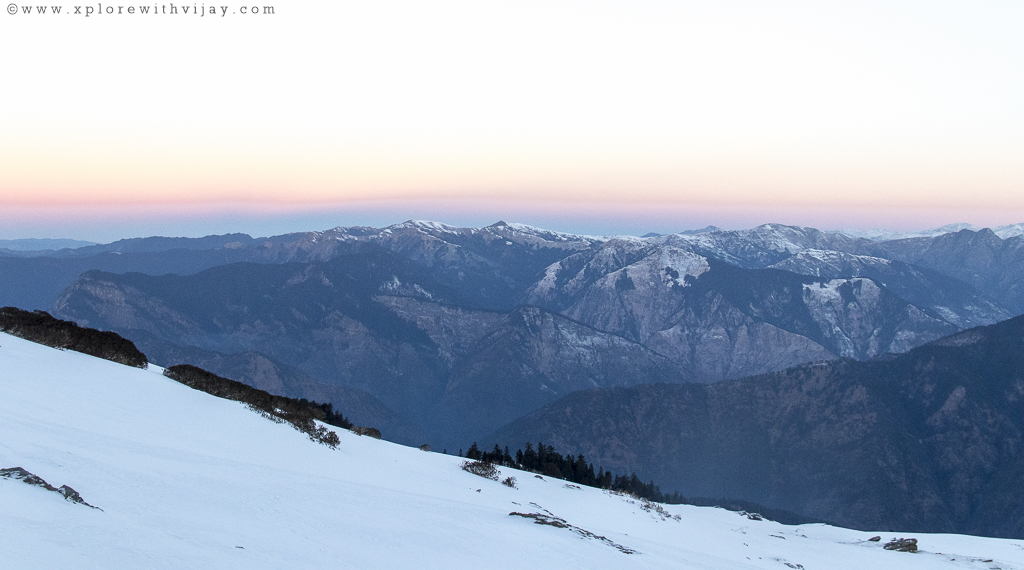
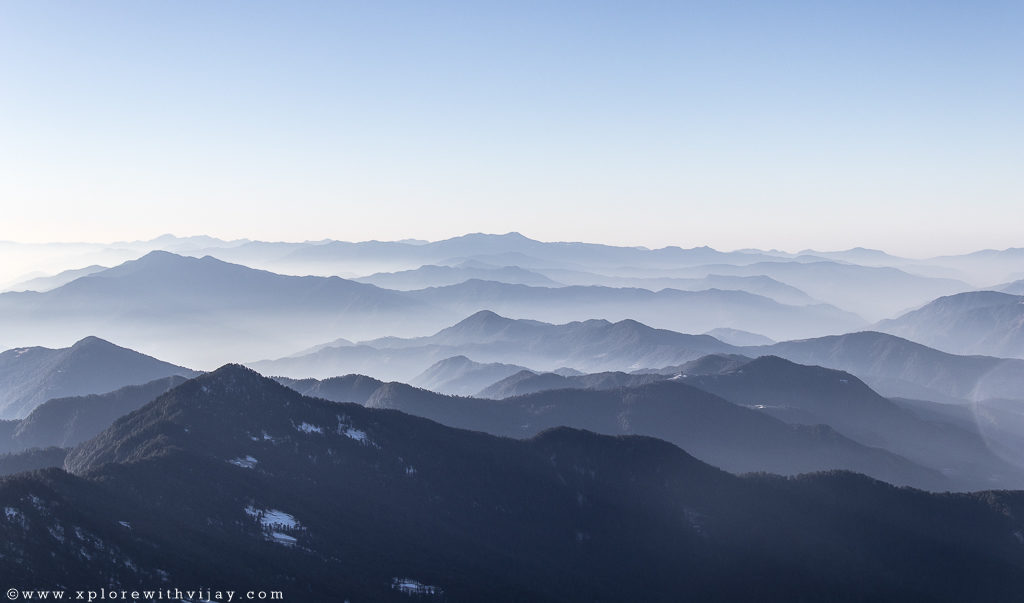
Throughout most of my trekking adventures, I endure a backpack weighing about 10 kg and that’s far heavier than that of my fellow trekkers’. Remember, every gram of load feels heavier on the mountains. This burdensome activity does cause burn out and leaves me gasping for breath and exhaustion. However, the one gratifying factor that stimulates me is the ability to see and capture the stunning landscapes from the lap of mother nature – The alluring and intriguing Himalayan ranges! As a popular adage goes by saying – The Climb may be tough, but the view from the top is always better.
The sheer contentment for returning home with great photographs that portray enthralling stories is what keeps me focused!
PHOTOGRAPHY IN HIGH ALTITUDE:
Primarily, there are two factors involved with photography on the Himalayas:
EXTREME WEATHER:
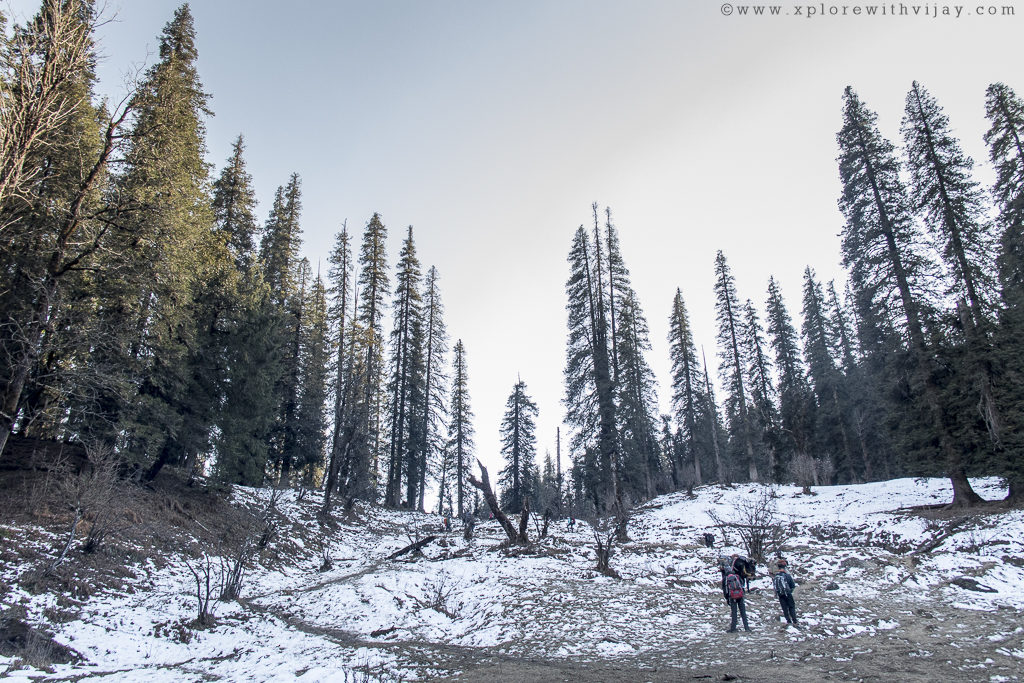
The temperatures on the Himalayan ranges are extensively unpredictable. Above an altitude of 7,000 feet, the weather will most likely be colder. Above 11,000 feet, the chances of snow are relatively higher. Beyond 15,000 feet, the winds get heavier and the air pressure begins to nosedive sharply. For a steady supply of oxygen to the human body, one has to stay hydrated at all times. Exposure to cold winds leaves you vulnerable to frost bite. And, there’s a very fine balance between managing your bodily needs and handling your camera, the latter being a personal choice.
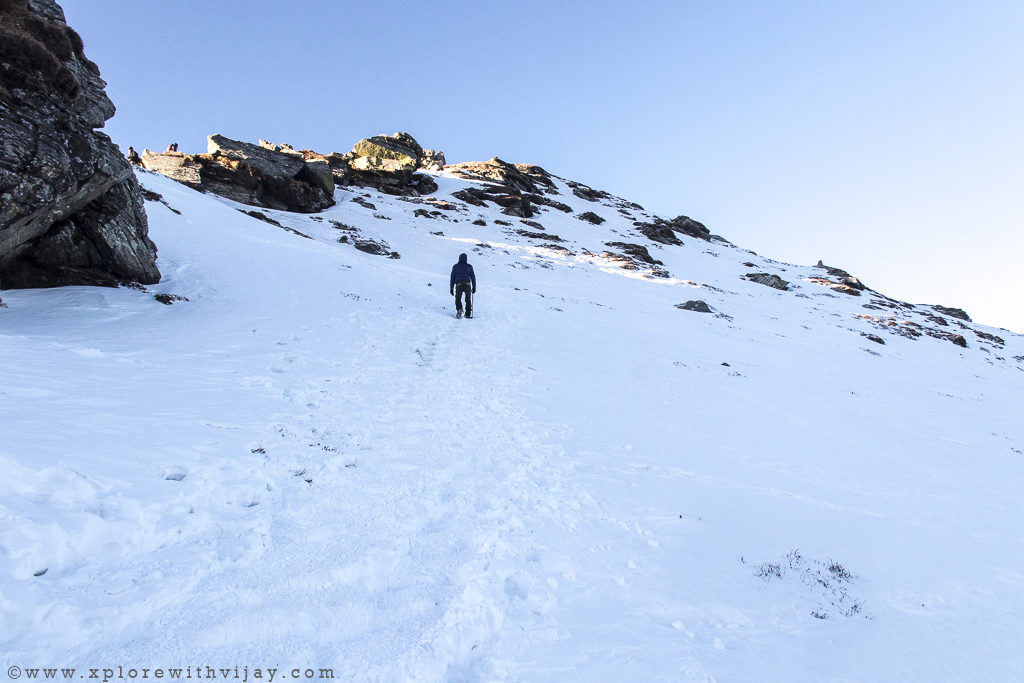
Typically, I configure my camera settings and then take off my gloves to release the shutter. With the gloves on, it is difficult to handle the tiny and smooth edges of the various buttons on camera, thereby delaying the crucial moments because the ambient lights that keep changing at a rapid pace. Let me tell you, those few moments when you are off gloves, leaves you vulnerable to frostbite. The intensity of winds and drop in temperature pose a great degree of challenges. It’s a skill that one has to develop to manage the extreme weather and the art of handling a professional photography equipment.
PROFICIENCY WITH CAMERA SETTINGS:
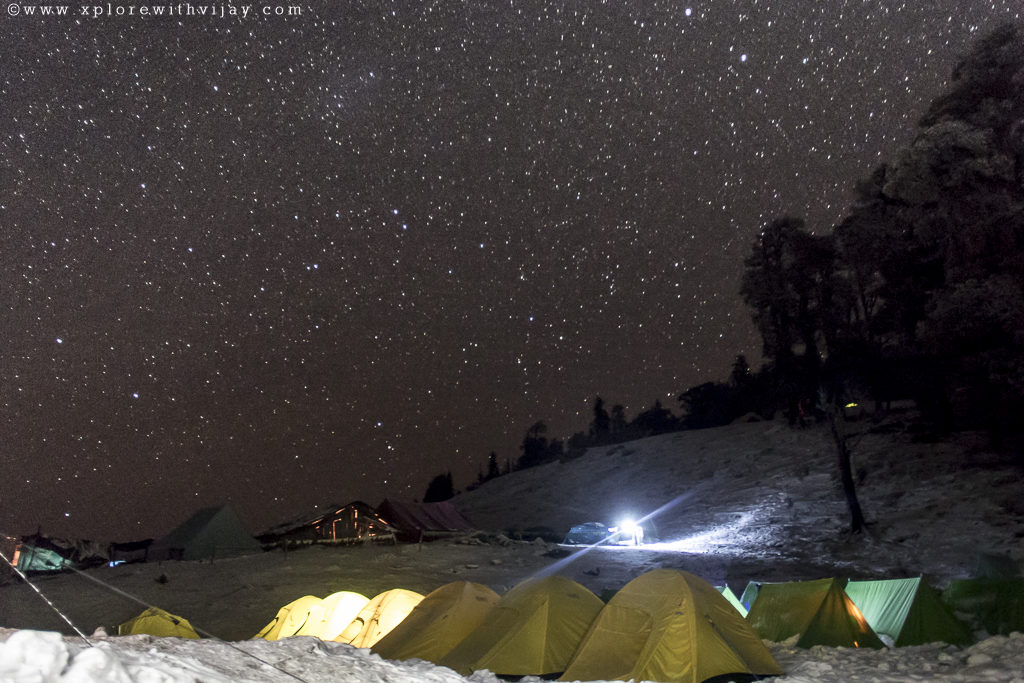
The ability to skillfully play with the extensive configuration and/or settings of any digital SLR camera in such adverse scenarios is a boon. I don’t click, say, 10 photographs and then select the best ones among them. Rather, I diligently plan my frames. Let’s discuss more.
A photograph is made, not just clicked!
By the end of every travel I do, there pops up a question from at least one person that has traveled with me.
THEY: How many photographs have you got?
ME: Just as I could complete saying some staggeringly low numbers, I often find myself on the receiving end.
THEY: Typically, taken aback by those numbers, the person would give an open-mouthed startling glance at me. And, that’s arguably an awkward predicament.
What follows, next, is quite obvious!
THEY: Only so many?
ME: With a rather reluctant mind and a short squint towards the other person, though in an amusing manner, I begin briefing about the way I look at photography!
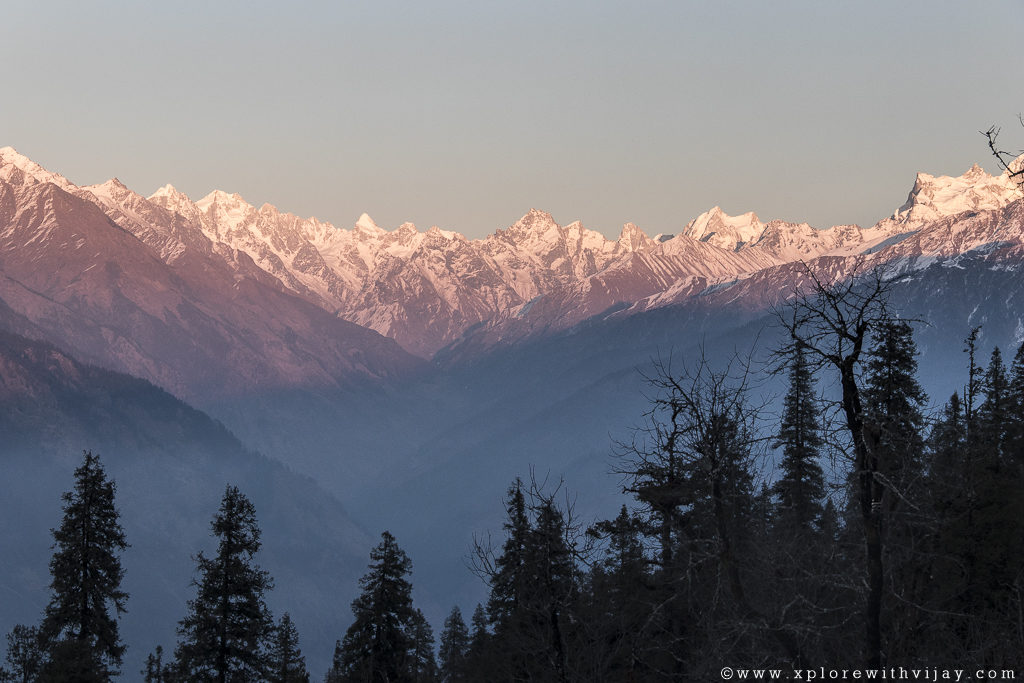
Just because we live in digital era that has brought with it a luxury of mega storage space among others, doesn’t connote the need for clicking as many to the capacity as possible.
Here are some key principles I meticulously follow before clicking the shutter release button on my camera:
VISUALIZE THE FRAME:
The first and most important aspect before I pick my camera is to visualize the frame. When you begin to per-visualize any scene, it helps you grow as a better photographer and stand out of the rest. Then, I try to compose the shot. Only if I feel satisfactory, do I ever hit the shutter release button.

SHOOTING IN MANUAL MODE:
Right from inception, I have been practicing shooting only in manual and aperture priority modes, respectively. Predominantly, the manual mode. And, hence, have acquired the nuances of calculating the fundamental three governing parameters in digital photography – Aperture, ISO, and Shutter speed. It’s the ability to change these parameters without taking your eyes off the view finder that defines how well a person has control over the camera. The more accustomed the better it is. Playing with these settings sans viewing the LCD screen is a skill that needs mastery. Once acquired, this is a lethal weapon to capture action sequences and/or scenarios with tricky fast changing lighting situations. I have seldom missed any action shots.
METERING A FRAME THE RIGHT WAY:
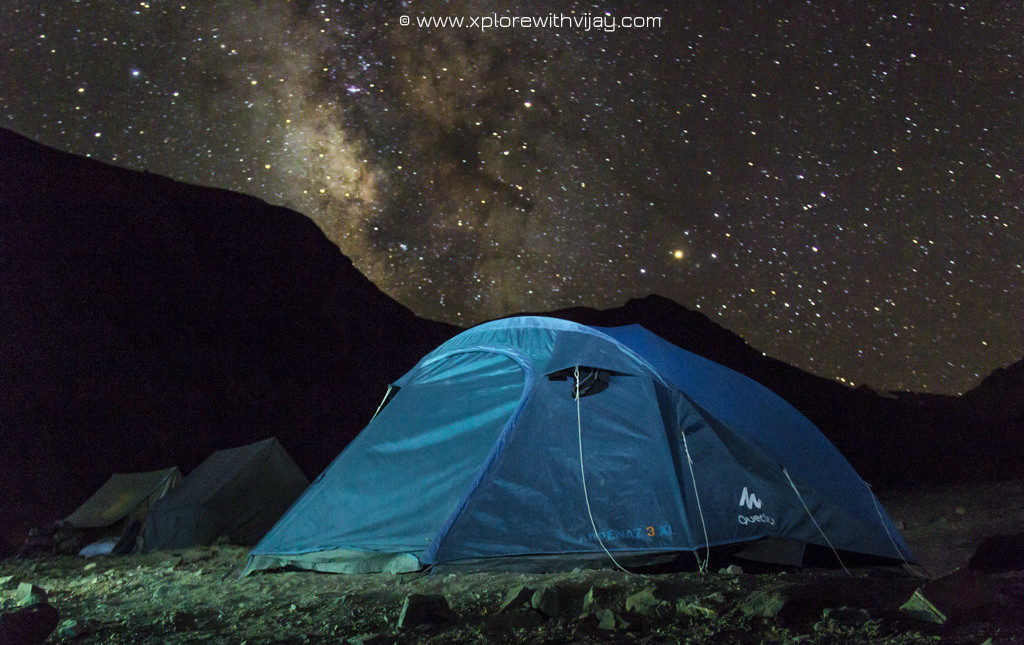
Choosing the right metering mode is pivotal to capturing the near perfect colors and lights the human eyes have seen. Typically, I shoot with evaluative metering. There are cases that require capturing accurate exposure, such as shooting against light or into the light. In such circumstances. I switch to Spot Metering. These are Canon terminologies. Please refer to the equivalent terms for the respective manufacturers. Only the terms differ not the mathematics and/or algorithm used behind them.
SHOOT RAW:
Always shoot in RAW. A RAW file is not an image file. Rather, it’s a data file. It holds a large chunk of information that can be enhanced/modified during post processing stage and then converted into an image file. Typically, I have the following settings:
- Auto White Balance
- Manual focus for low contrast and/or night scenes
- Auto focus for brightly lit scenes
- Bracketing for high contrast scenes
DRIVE MODE:
At most times, I set my shooting mode to Single Shooting. I seldom use the burst mode or continuous shooting mode. During my early days into photography, I have had experiences using camera models that could capture only 3 frames per second. Some of my wildlife action shots are, predominantly, captured on Single Shooting mode. With such limitations, I have always relied on timing the shutter perfectly and mastered it over time. This does not imply I discourage anyone using the latter mode. It’s just my preference.
BUILT-IN STABILIZER:
When the camera is on tripod, turn off the in-built stabilizer. This prevents any camera shake. Although, this is applicable only for slower shutter speeds, below 1/40th of a second, it is a good practice to turn it off while on a tripod.
MIRROR-LOCK UP:
When using Live view for capturing photographs, disable the Mirror look up function. This prevents any camera shake too. Refer to your manual on how to turn that off.
Getting the basics right and learning the art of survival in grueling circumstances, such as withstanding extreme cold temperatures on the Himalayan terrains, are the essential skills that must be comprehended well for returning home with stunning masterpiece of photographs!
Those were some of the techniques I have been following. And, it’s been a steady & progressive learning that never stops. With every trek/travel that I execute, there’s always something to learn. This blog will be updated every time I get to learn something new about adventure & photography.
I hope you find this article informative. Meet you with another blog sometime soon!
Feel free ask any questions and share this with anyone that could be needing!

